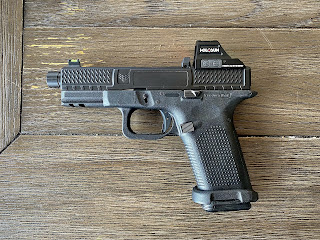
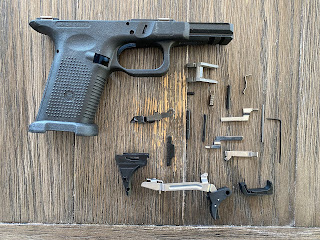
SwampFox Slide Assembly
Welcome to the third post in this series. It's time to assemble the slide and put this gun together. Previously we finished the Lone Wolf Lower, installed the parts kit and now we will take a SwampFox slide and put it together with a Brownells Glock completion kit. If you want to see the other posts in the series, check them out below:
- Lone Wolf Freedom Wolf 80% Lower Build
- Lone Wolf Freedom Wolf Lower Parts Kit Installation
- Assembling the slide parts kit.
- Test firing and overall review.
This will not be a super detailed assembly post. If you need to know the entire process, I suggest looking up a complete build as this is my first attempt at building a Glock clone. I chose a Swampfox Wolverine slide for a couple different reasons. I have been running a Glock 17 MOS with an RMR for several years now and wanted to stay with a red dot option. I also wanted to try running the red dot with the iron sights in front of the optic. The Wolverine slide was a decent price, had the sights in front of the dot and came with a set of fiber optic suppressor height sights. And with a discount through ExpertVoice it was a really competitive price.
Once you have those pieces installed you just have to install the sights and put in the barrel and recoil spring just like a normal field strip and re-assembly. I forgot to take photos of the sight assembly. Ideally you would use a sight pusher to install the rear sight properly. The Swampfox and some other sights come with an aluminum tool that allows you to gently tap the sight into place. In this build I used a SilencerCO threaded barrel from Brownells and replaced the plastic recoil spring that came with the parts kit for a Lone Wolf Stainless Guide Rod. For magazines I bought a handful of the Glock GL9 Glock magazines. Finally, the pistol is topped with a Holosun 507c X2 to take advantage of the RMR footprint, but at a little lower price point.


Comments
Post a Comment